
The Hardwood Guide
What’s possible with a wood floor
Species, widths, colors, patterns, finishes and how a floor actually goes in, explained in plain language so you can walk into a consultation knowing what to ask.
Start here
Solid vs. engineered hardwood
Every wood floor starts with one choice: solid boards or engineered boards. Both are real wood on top. The difference is what’s underneath, and that decides where the floor can go.

Solid hardwood
- Construction
- One piece of wood with a tongue and groove, usually ¾ in. thick.
- Strengths
- Can be sanded and refinished many times over its life.
- Watch-outs
- Moves more with seasonal humidity. Generally not recommended below grade or directly over a concrete slab.
- Best fit
- Main and upper floors over a plywood or OSB subfloor, and matching or extending existing solid floors.
Engineered hardwood
- Construction
- A real-wood wear layer (often about 2–6 mm) over layers of plywood or another cross-ply core.
- Strengths
- More stable as humidity changes. Can go over concrete, in basements and, with the right product, over radiant heat.
- Watch-outs
- How many times it can be sanded depends on the wear layer. Very thin layers may not be sandable at all.
- Best fit
- Slabs, basements, radiant heat, wide planks and rooms with big humidity swings.
Rule of thumb: below grade, over a slab or over radiant heat, engineered is usually the right call. Either way, the manufacturer’s instructions for that specific product come first.
Wood species
Choosing a species
Species sets the color, the grain and how a floor takes stain. Hardness matters too. The standard measure is the Janka test: the force needed to press a small steel ball halfway into the wood. Higher numbers resist dents better, though the finish and how you live matter just as much.
| Species | Janka | Look & grain | Staining | Good for | Cost |
|---|---|---|---|---|---|
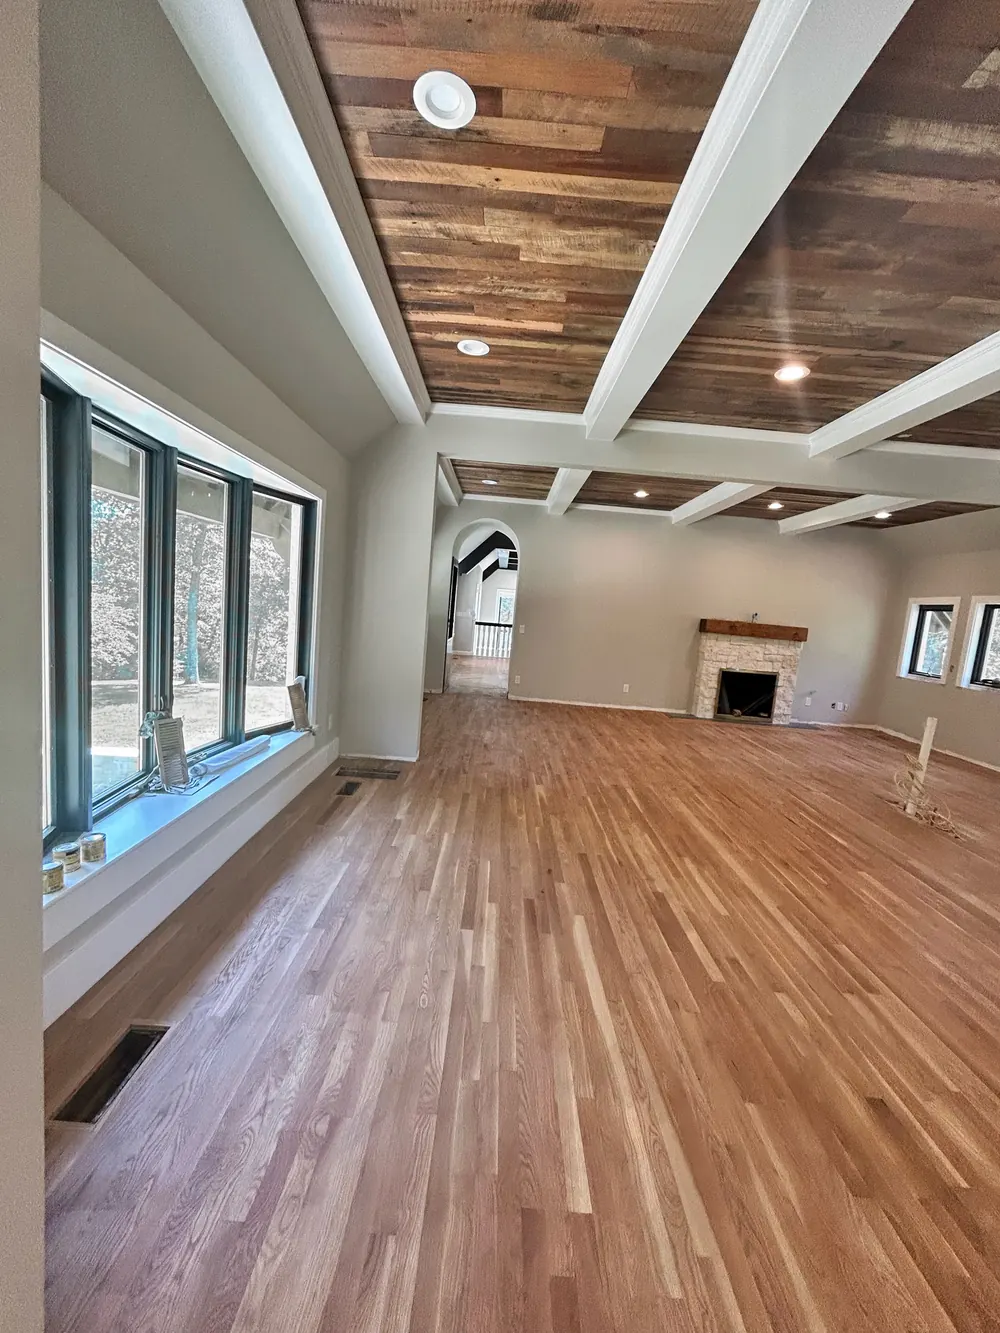
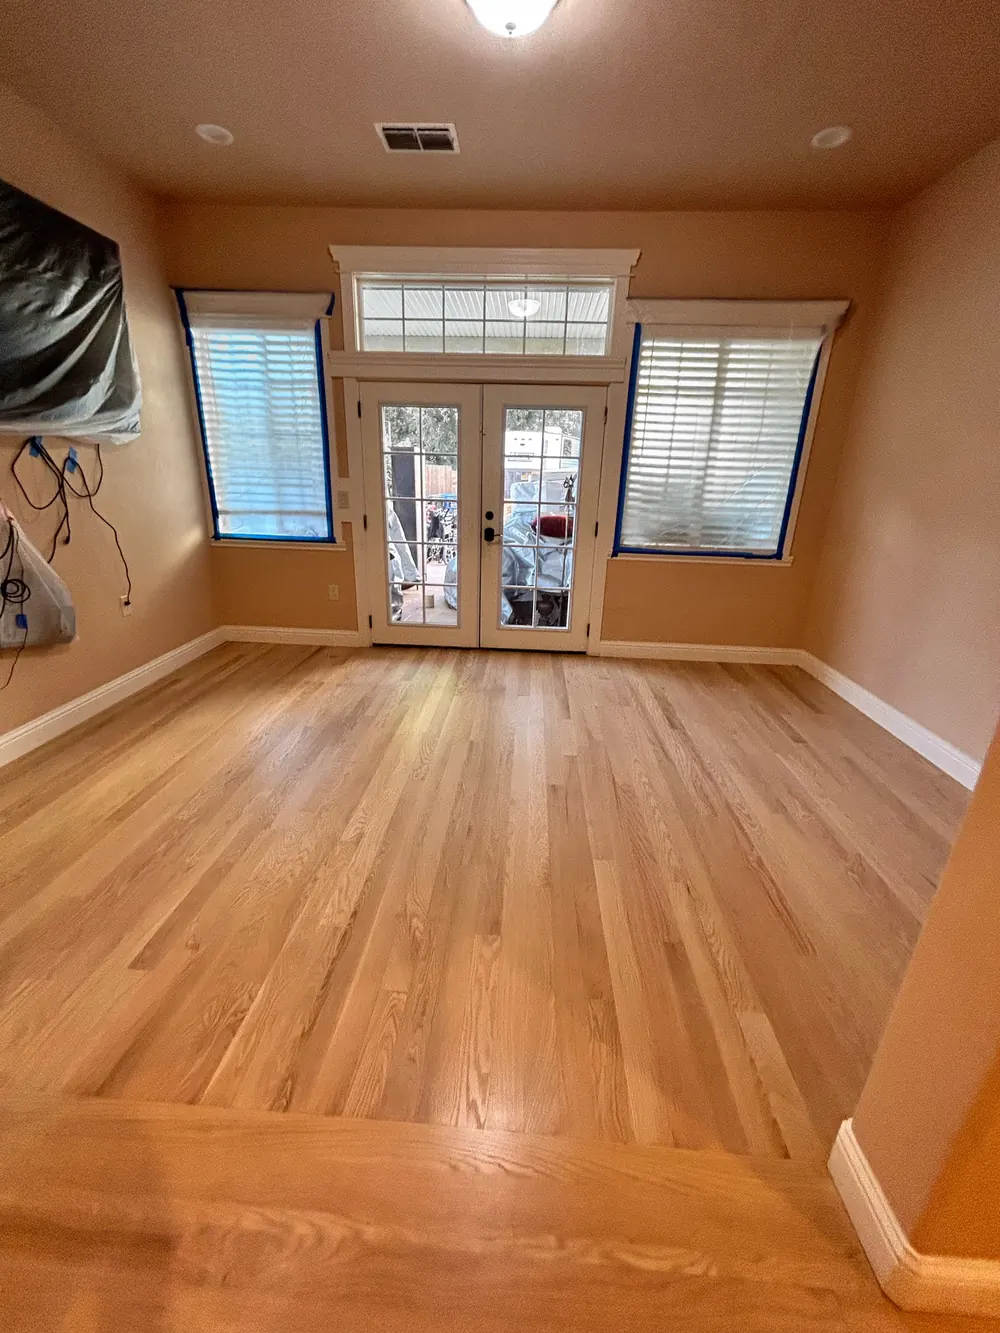
| Red oak | 1,290 | Warm, slightly pinkish tone; open, pronounced grain | Takes stain evenly; very forgiving | Traditional homes, any stain color, matching older oak floors | $ |
| White oak | 1,360 | Tan to light brown; tighter pores; ray fleck when quartersawn | Stains well; popular for natural, light and gray looks | Modern and transitional homes, natural finishes, wide plank | $$ |
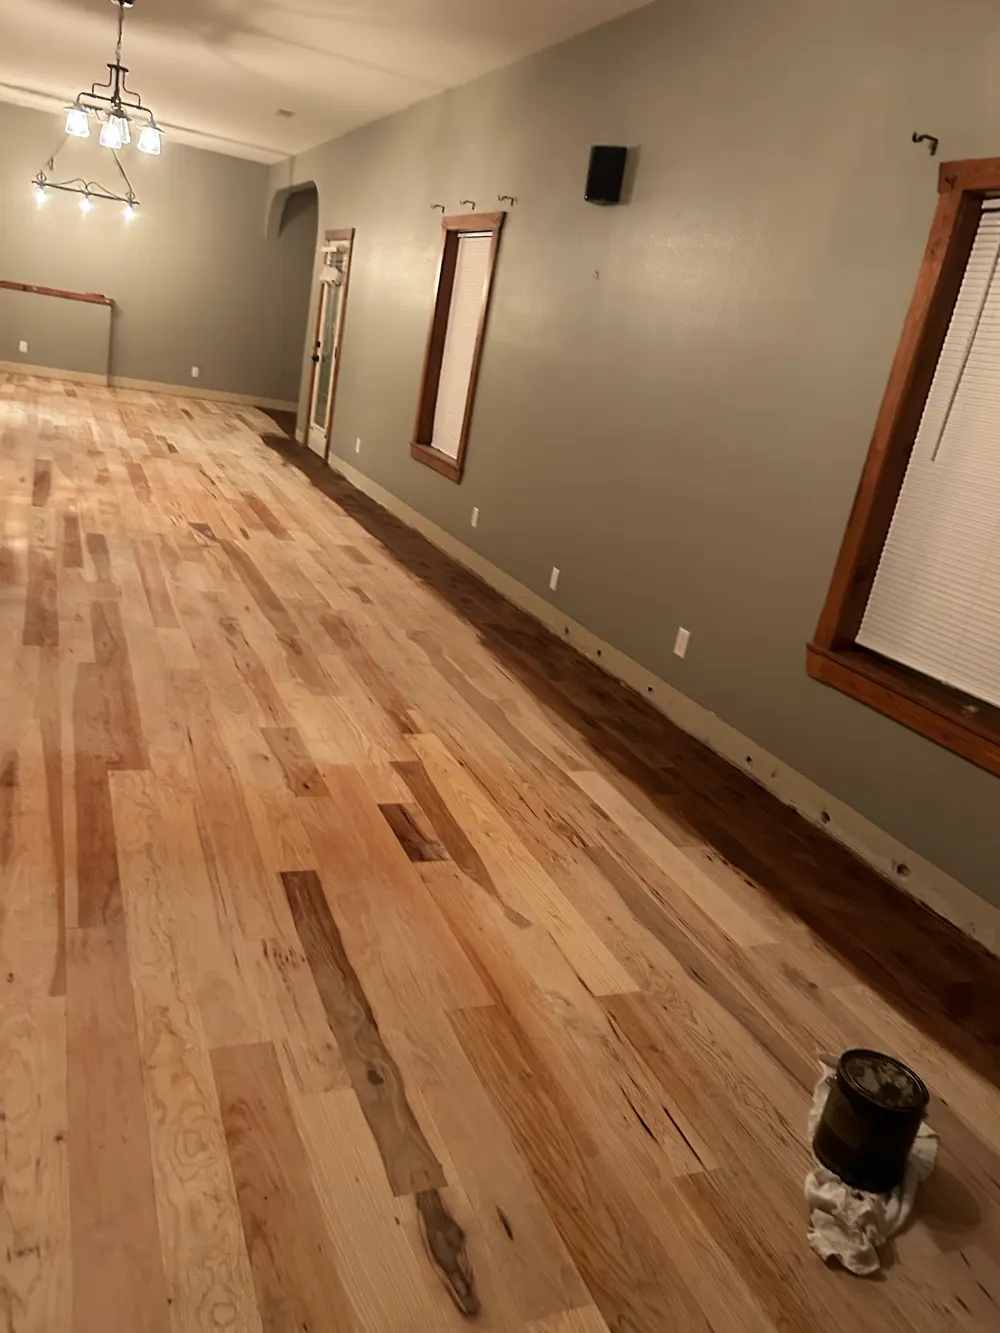
| Hickory | 1,820 | Dramatic light-to-dark color variation | Takes stain, but the natural variation always shows | Rustic and lodge looks, busy households | $$ |
| Hard maple | 1,450 | Pale and creamy, with fine, even grain | Can blotch with stain; usually left natural | Bright, clean-lined rooms | $$ |
| Walnut | 1,010 | Rich chocolate brown, sometimes with lighter streaks | Usually left natural to show its color | Formal rooms, studies and statement floors with lighter traffic | $$$ |
| Ash | 1,320 | Light, with bold grain similar to oak | Takes stain well | Light, lively floors; an alternative to white oak | $$ |
| Cherry | 950 | Pinkish brown that deepens toward red with light | Usually left natural; can blotch with stain | Warm traditional rooms with lighter traffic | $$$ |
| Heart pine | 1,225 | Amber-orange heartwood with tight growth rings; deepens with age | Usually left natural | Historic homes and matching original 1800s floors; today mostly reclaimed | $$$$ |
| Reclaimed wood | Varies | Nail holes, saw marks and a patina new wood can’t copy | Varies by species | Character floors and historic restoration | $$$–$$$$ |
Janka numbers apply to solid wood. On engineered flooring, the wear layer and the finish do most of the work. Reclaimed wood is worth its character, but it should be checked for moisture, hidden metal and insects before it goes in.
Grades & cuts
How the board is cut, and how much character it has
Plain, rift and quartersawn
The same tree can look very different depending on how its boards are sawn from the log.

- Plain-sawn (flat-sawn): the most common and most affordable cut, with the “cathedral” arches most people picture when they think of oak.
- Rift-sawn: cut at a steep angle to the growth rings for long, straight, even grain. More of each log is wasted, so it costs more.
- Quartersawn: cut roughly across the growth rings. Straight grain plus the shimmering “ray fleck” white oak is known for, and very stable. Rift and quartersawn are often sold together as “rift & quartered.”
Grades: from clean to rustic
Grade describes appearance, not strength. The rules vary by species and manufacturer, but solid oak is commonly graded like this:
- Clear: the most uniform color, with almost no knots or streaks.
- Select: mostly uniform, with small knots and some natural color variation.
- #1 Common: more variation, knots and character marks. Lively without being rustic.
- #2 Common: the most knots and color variation; often sold as “rustic.”
Many manufacturers use their own names, such as “character” or “rustic” grade. The best way to choose is to look at real boards, not just the label.
Widths & lengths
Board widths and lengths
Board width changes the feel of a room more than most people expect.

- Strip: narrower than 3 in., most often 2¼ in. The classic look in mid-century and older homes, and very stable.
- Plank: 3 in. and wider. Widths of 4–5 in. are a popular middle ground.
- Wide plank: about 6 to 10 in. or more. Fewer seams and a calmer, more upscale look.
Random lengths and layout
Most floors use random lengths. A good layout spreads the board ends so seams don’t line up or form a stair-step pattern, and keeps short pieces away from doorways and focal points. Longer average lengths look calmer and more high-end.
Good to know: wider boards move more as humidity changes, so wide plank needs careful moisture control. Engineered wide plank, or a glue-assisted install, helps keep gaps and cupping in check.
Colors & finishes
Color, stain and finish
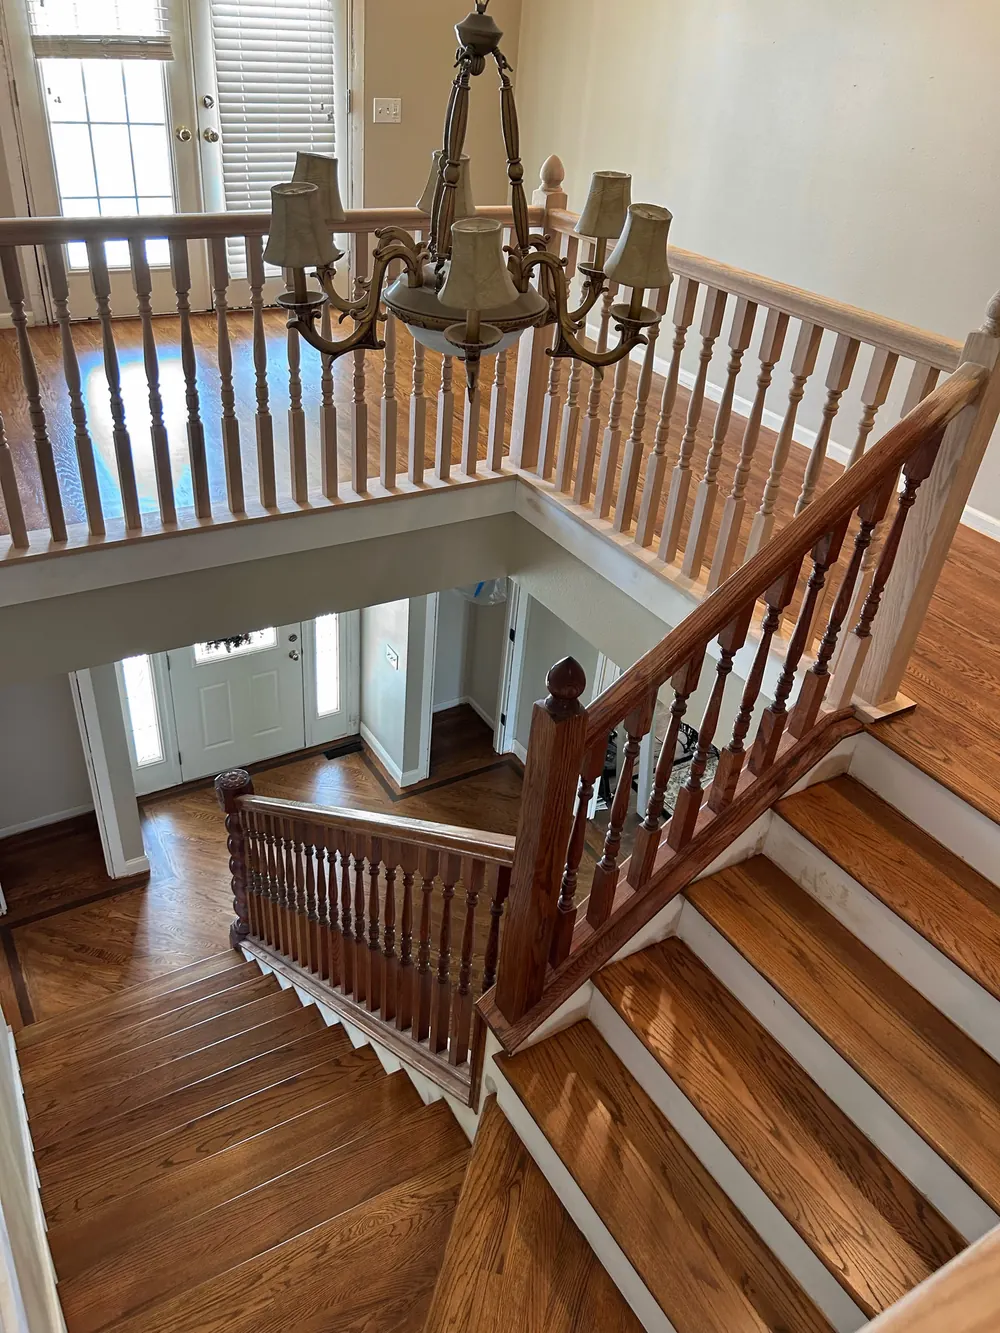
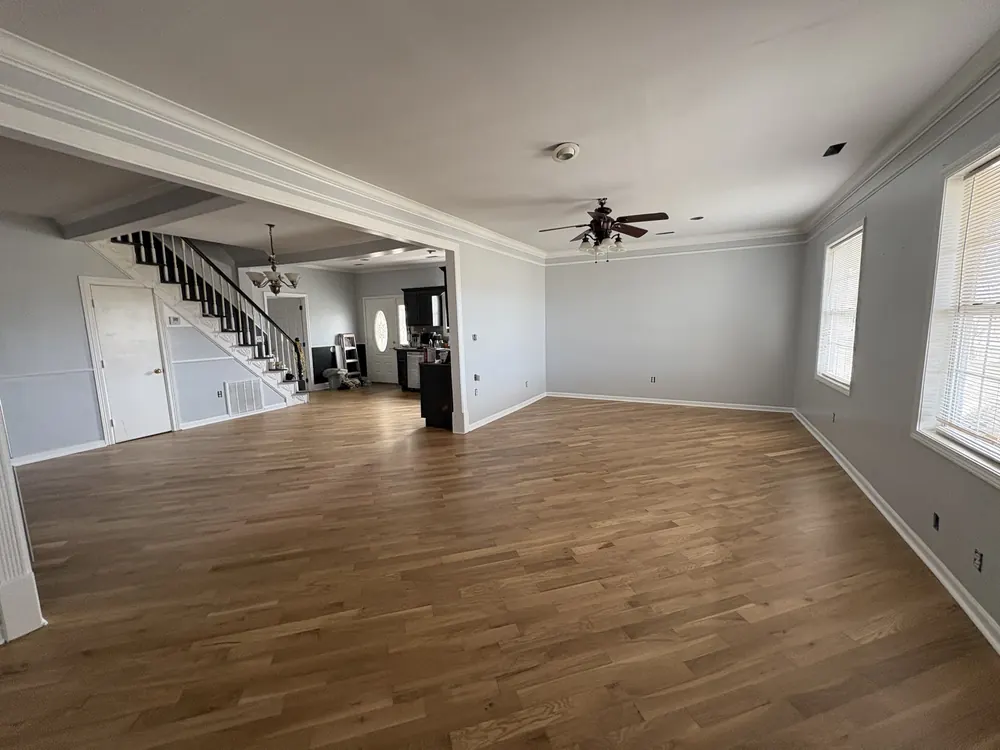
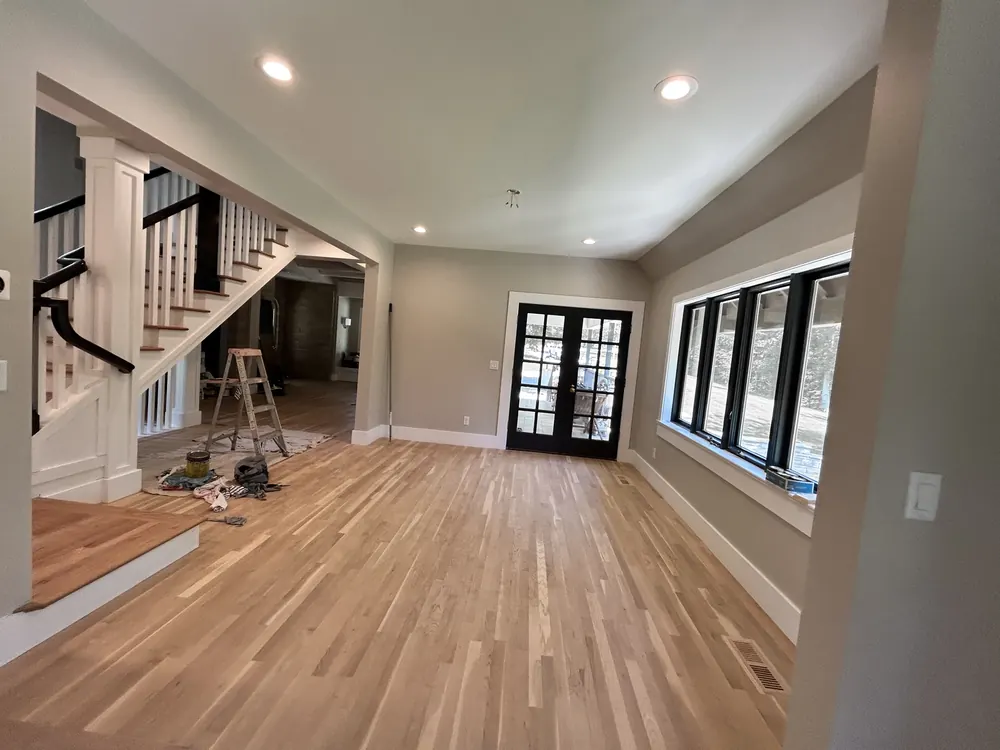
A floor’s color comes from three things: the species, the stain (if any) and the finish on top. The same oak can look entirely different with each.
- NaturalThe wood’s own color under a clear finish.
- Light / ScandinavianPale, low-amber looks; often water-based finishes.
- Honey / amberThe warm golden tone of classic oak.
- Mid-brownVersatile, and hides everyday dust well.
- DarkEspresso and ebony. Dramatic; shows dust more.
- Gray / whitewashCool or washed looks; usually best on white oak.
Stain or natural?
Natural lets the wood speak and is easier to touch up. Stain lets you set the exact tone of a room. Red oak, white oak and ash take stain beautifully; maple and cherry can blotch and are usually left natural. On a site-finished floor, stain samples go right on your sanded boards so you approve the real color in your own light.
Finish types
| Finish | Look | Durability | Odor & dry time | Upkeep |
|---|---|---|---|---|
| Oil-modified polyurethane | Warm amber tone that deepens over time | Hard, protective film | Strong odor; slower drying between coats | Easy cleaning; recoat or refinish when worn |
| Water-based polyurethane | Clear; keeps light woods light | Good to excellent; two-component versions are very tough | Low odor; dries quickly | Easy cleaning; can be screened and recoated |
| Hardwax oil | Low sheen, natural “in the wood” look | Moderate; scuffs can be spot-repaired | Low to moderate odor | Periodic maintenance coats |
| Penetrating oil | Soft, matte, hand-rubbed look | Least surface protection | Varies by product | Most upkeep; regular re-oiling |
Sheen
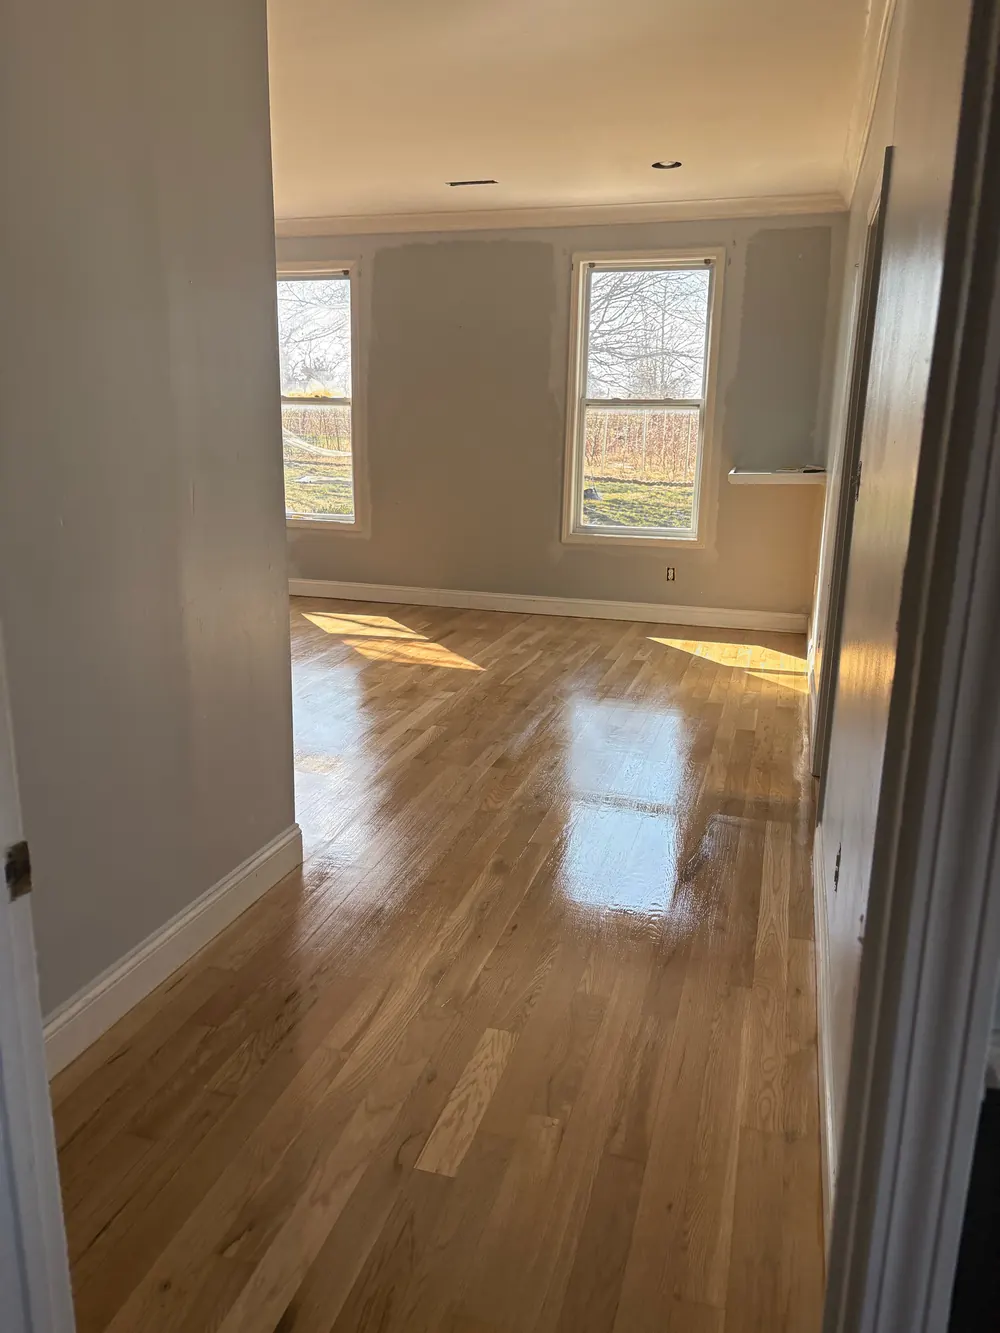
Finishes come in matte, satin, semi-gloss and gloss. The higher the sheen, the more it shows scratches, dust and footprints. Matte and satin are the most forgiving and the most popular today; gloss gives a traditional, reflective look.
Patterns
Patterns, borders and medallions
Pattern is where a floor becomes part of the design. Each of these is laid out by hand and planned on site. Relative cost covers the extra labor and material compared with a straight lay.

Straight lay
Boards run parallel, usually along the longest wall or toward the main light. Simple, timeless and the most economical.
Relative cost: $

Diagonal
Boards laid at 45 degrees. Makes a room feel wider and adds movement; uses more material because of the angled cuts.
Relative cost: $$

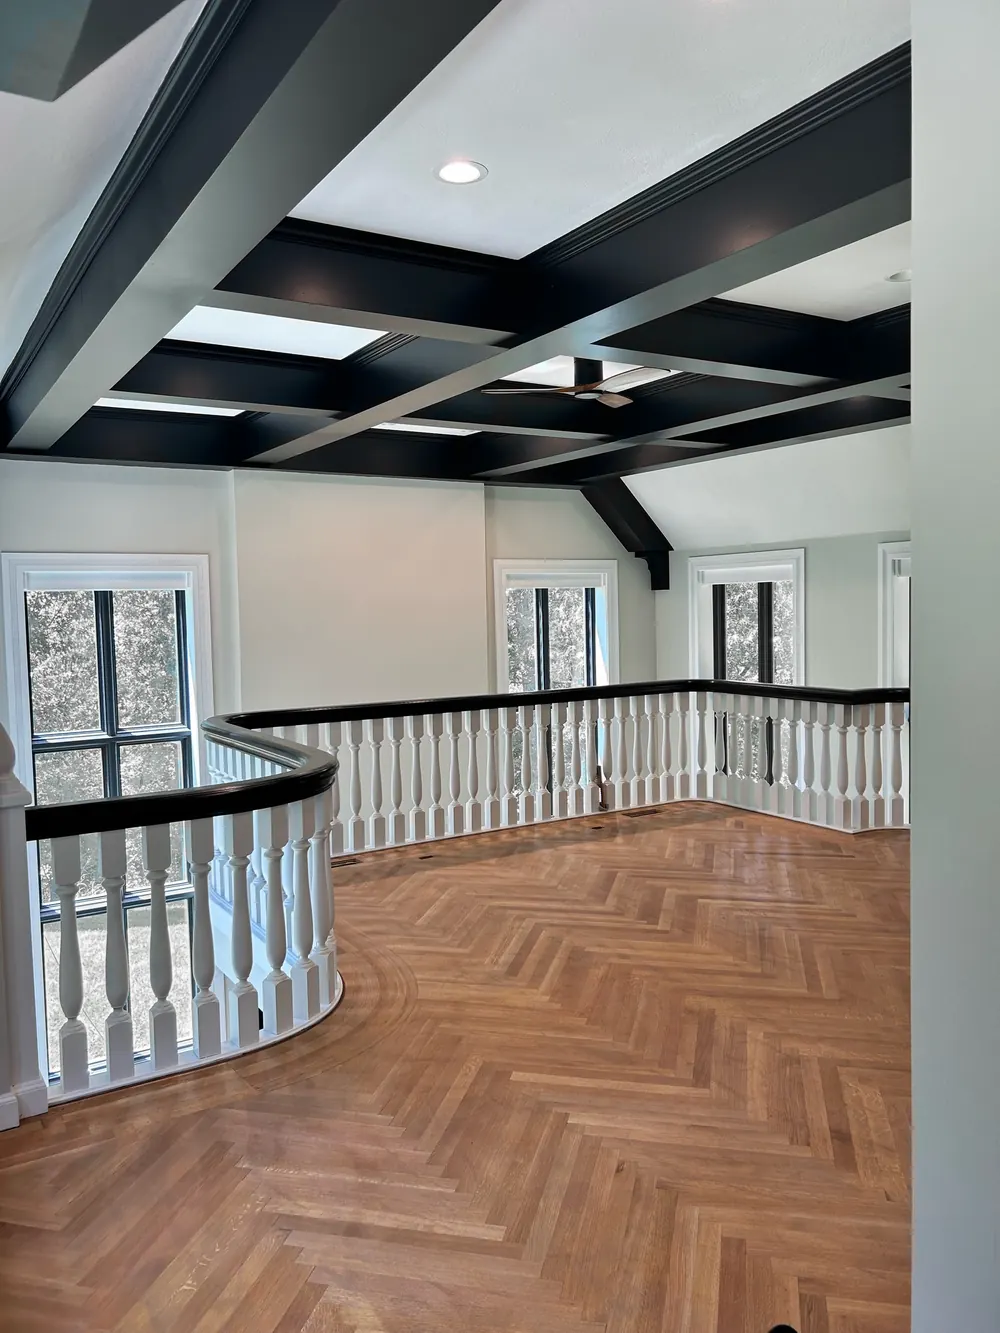
Herringbone
Rectangular pieces meet at right angles in a zigzag. A classic for entries, dining rooms, halls and landings.
Relative cost: $$$

Chevron
Like herringbone, but the ends are cut at an angle so the pieces meet in a clean point down each row.
Relative cost: $$$$

Parquet
Short pieces assembled into squares or geometric blocks. Traditional in older and more formal homes.
Relative cost: $$$

Borders, inlays & feature strips
A contrasting band that frames a room, outlines a hearth or defines a dining area.
Relative cost: $$–$$$

Medallions
A decorative centerpiece, such as a compass rose or star, set into the field. Often built from several contrasting species.
Relative cost: $$$$
From our floors
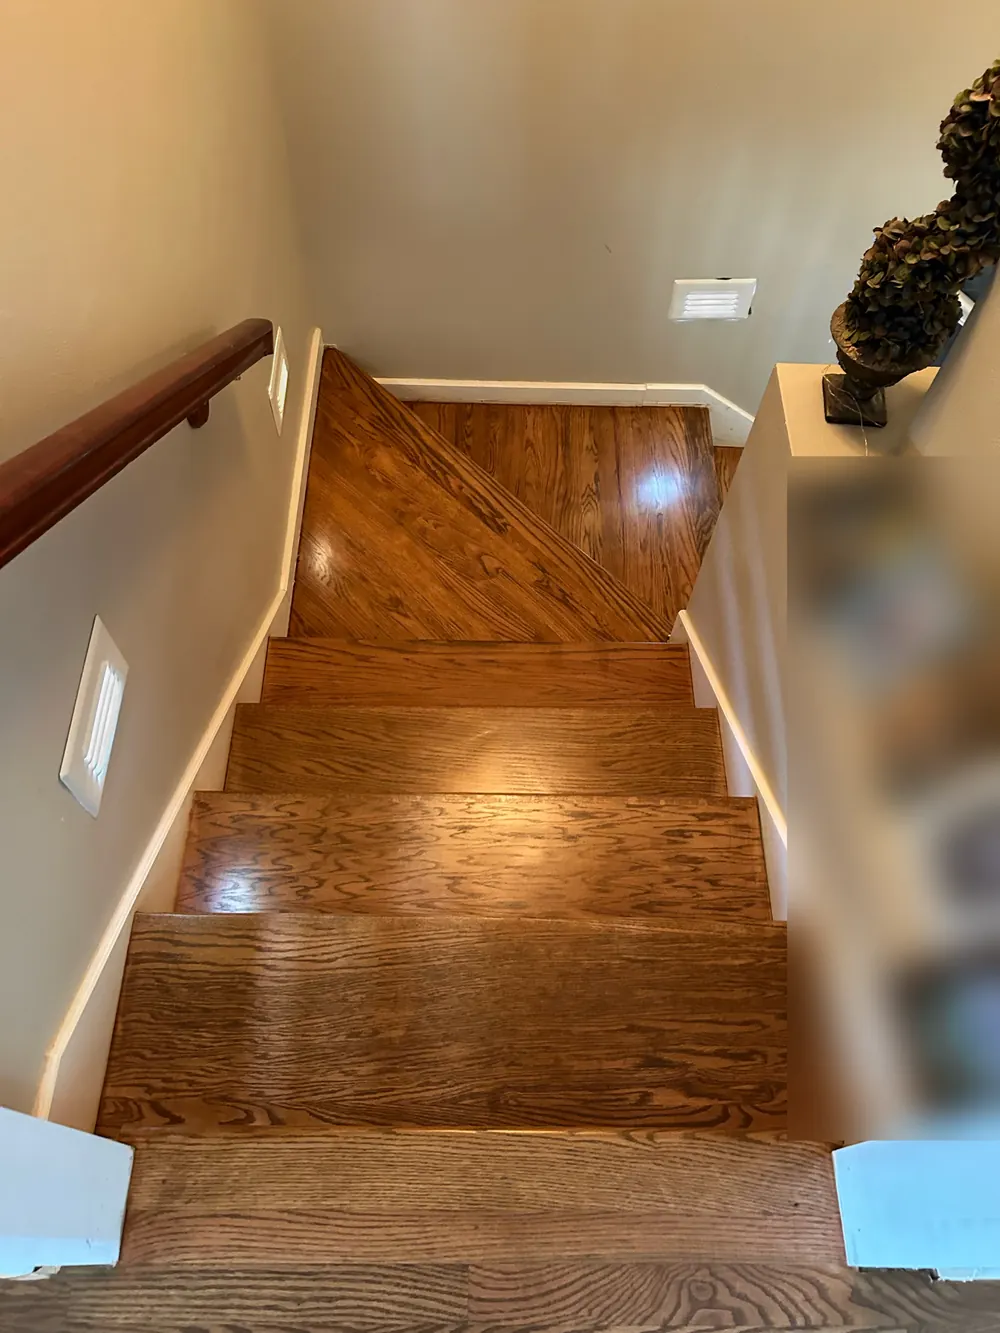
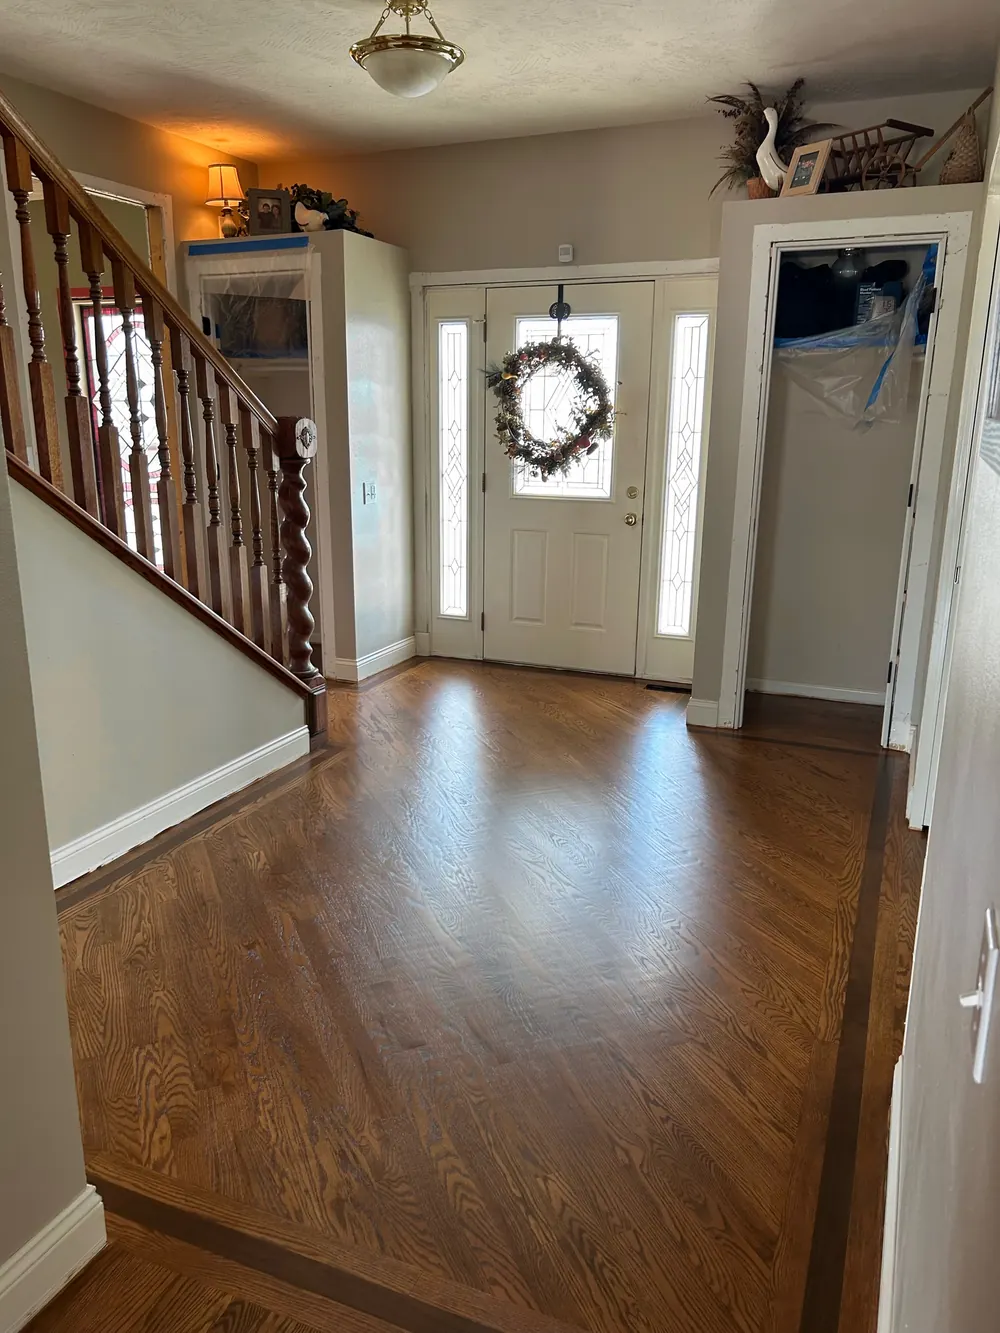
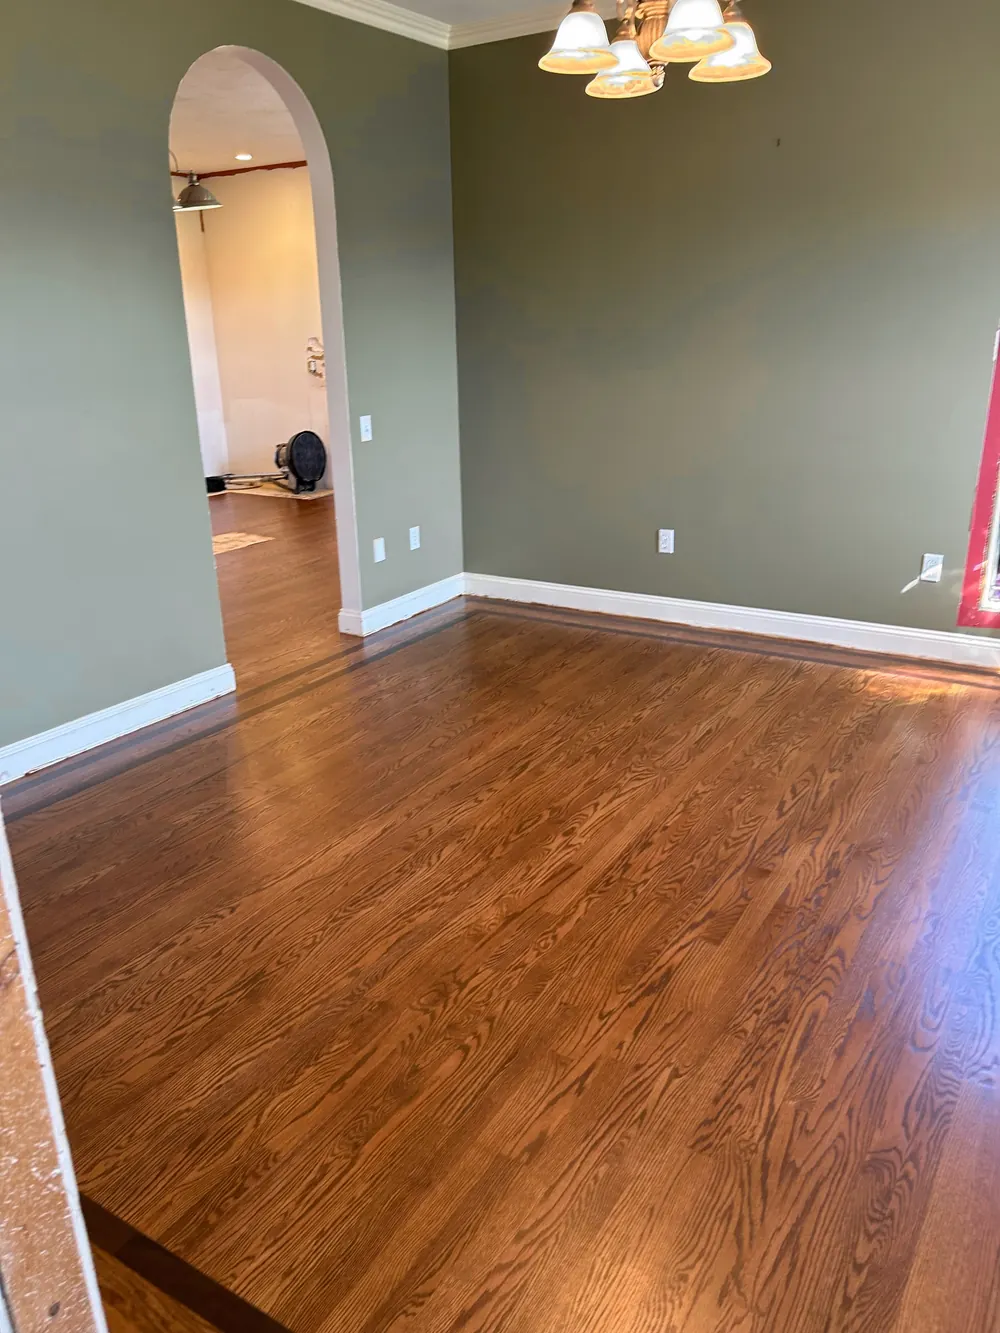
Prefinished vs. site-finished
Finished at the factory, or in your home?
Prefinished boards arrive already sanded, stained and finished. Unfinished (raw) boards are installed first, then sanded, stained and finished in place.

| Factor | Prefinished | Site-finished |
|---|---|---|
| Look | Small bevels at the seams; finish sits on each board | Smooth, flush surface; finish seals across the seams |
| Durability | Factory finishes are hard and evenly cured | Excellent, and the whole floor can be screened and recoated later |
| Custom color | Limited to the manufacturer’s colors | Any stain or blend, sampled on your own floor |
| Matching existing floors | Hard to match exactly | The best way to blend old and new |
| Timeline | Faster; usable soon after installation | Adds days for sanding, staining, finishing and drying |
| Dust & odor | Little sanding dust; no finish odor on site | Sanding dust (dust control helps) and finish odor while it cures |
| Makes sense when | The schedule is tight, the home is lived in, or you love a specific factory product | You want a custom color or a flush look, or need to match or extend existing wood |
Installation methods
How a floor is fastened
The method depends on the product and what’s underneath it. Getting this right is a big part of a floor that stays flat and quiet for decades.

Nail-down
Cleats or staples are driven at an angle through the tongue of each board into a wood subfloor.
Best for: Solid hardwood, and many engineered floors, over plywood or OSB on or above grade.

Glue-down
Boards are set into flooring adhesive spread with a notched trowel.
Best for: Engineered flooring over a concrete slab, including many radiant-heat systems (per the manufacturer).

Floating
Boards lock or glue to each other, not to the subfloor, over a thin underlayment.
Best for: Engineered and click-together floors over most flat subfloors, including below grade. Not used for solid hardwood.

Nail + glue (glue-assist)
Nailed like a standard install, with beads of adhesive between the boards and the subfloor.
Best for: Wide plank, where the adhesive helps limit movement, gaps and squeaks.
Whatever the method: the subfloor must be flat, solid and dry, and the floor needs a small expansion gap at the walls, later hidden by baseboard or shoe molding.
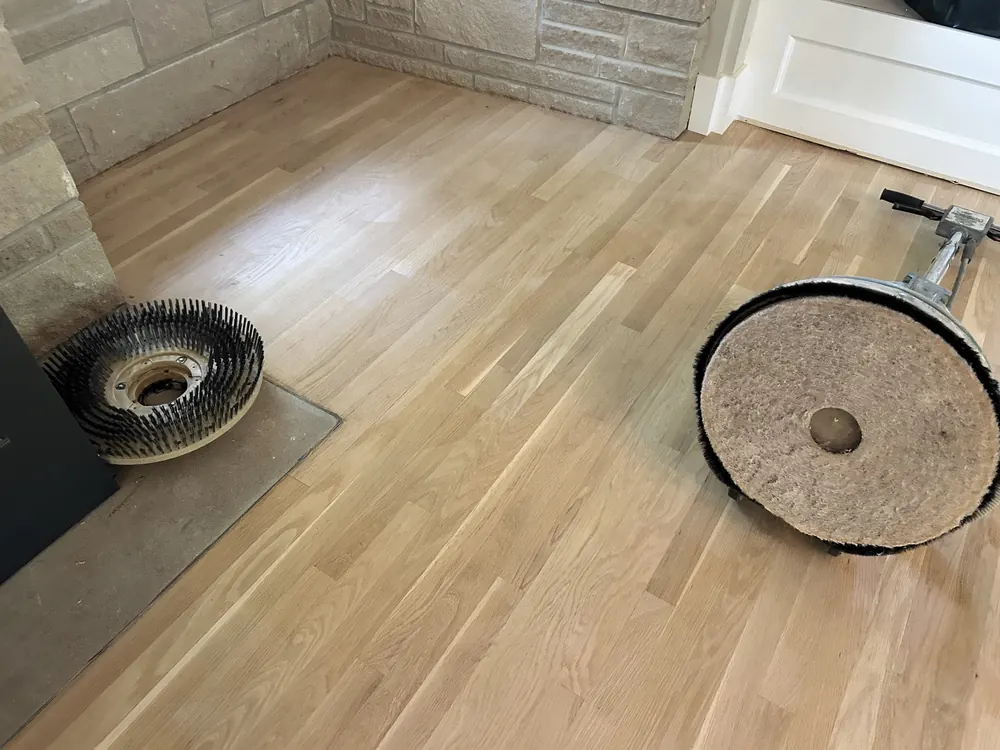
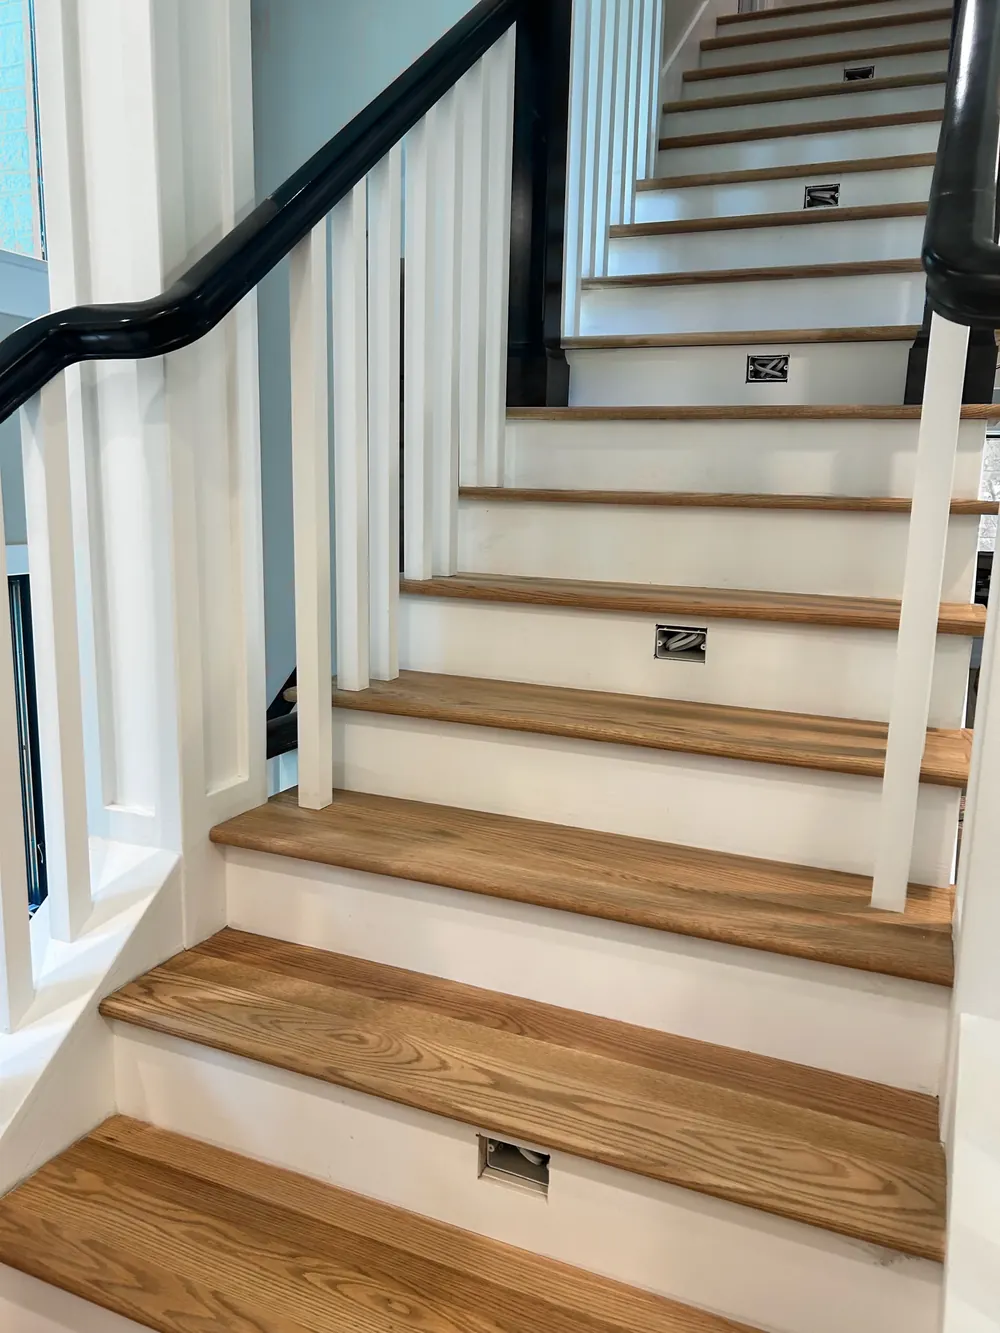
Our process
From first visit to final walkthrough
Every home is different, but a well-run hardwood job follows the same order. Here’s what to expect. (For prefinished floors, steps 6 to 8 aren’t needed.)
Step 1: Consultation & walkthrough
Daniel visits your home, looks at the rooms, the subfloor and how you live, and walks you through species, widths, colors and finishes with real samples.
Step 2: Subfloor prep, if needed
A floor is only as good as what’s under it. Where the subfloor needs it, low spots are flattened, loose areas fastened and squeaks fixed before any new wood goes down.
Step 3: Acclimation
The flooring comes into the home with the heat or air conditioning running at normal living conditions, so it can settle in before it’s installed. How long that takes depends on the wood, the season and the manufacturer’s instructions.
Step 4: Layout
Board direction, starting lines, transitions and any pattern or border are planned before the first board goes down, along with where the longest, cleanest boards will show most.
Step 5: Installation
Boards go down with the method that suits the product and the subfloor, seams staggered and a small expansion gap left at the walls.
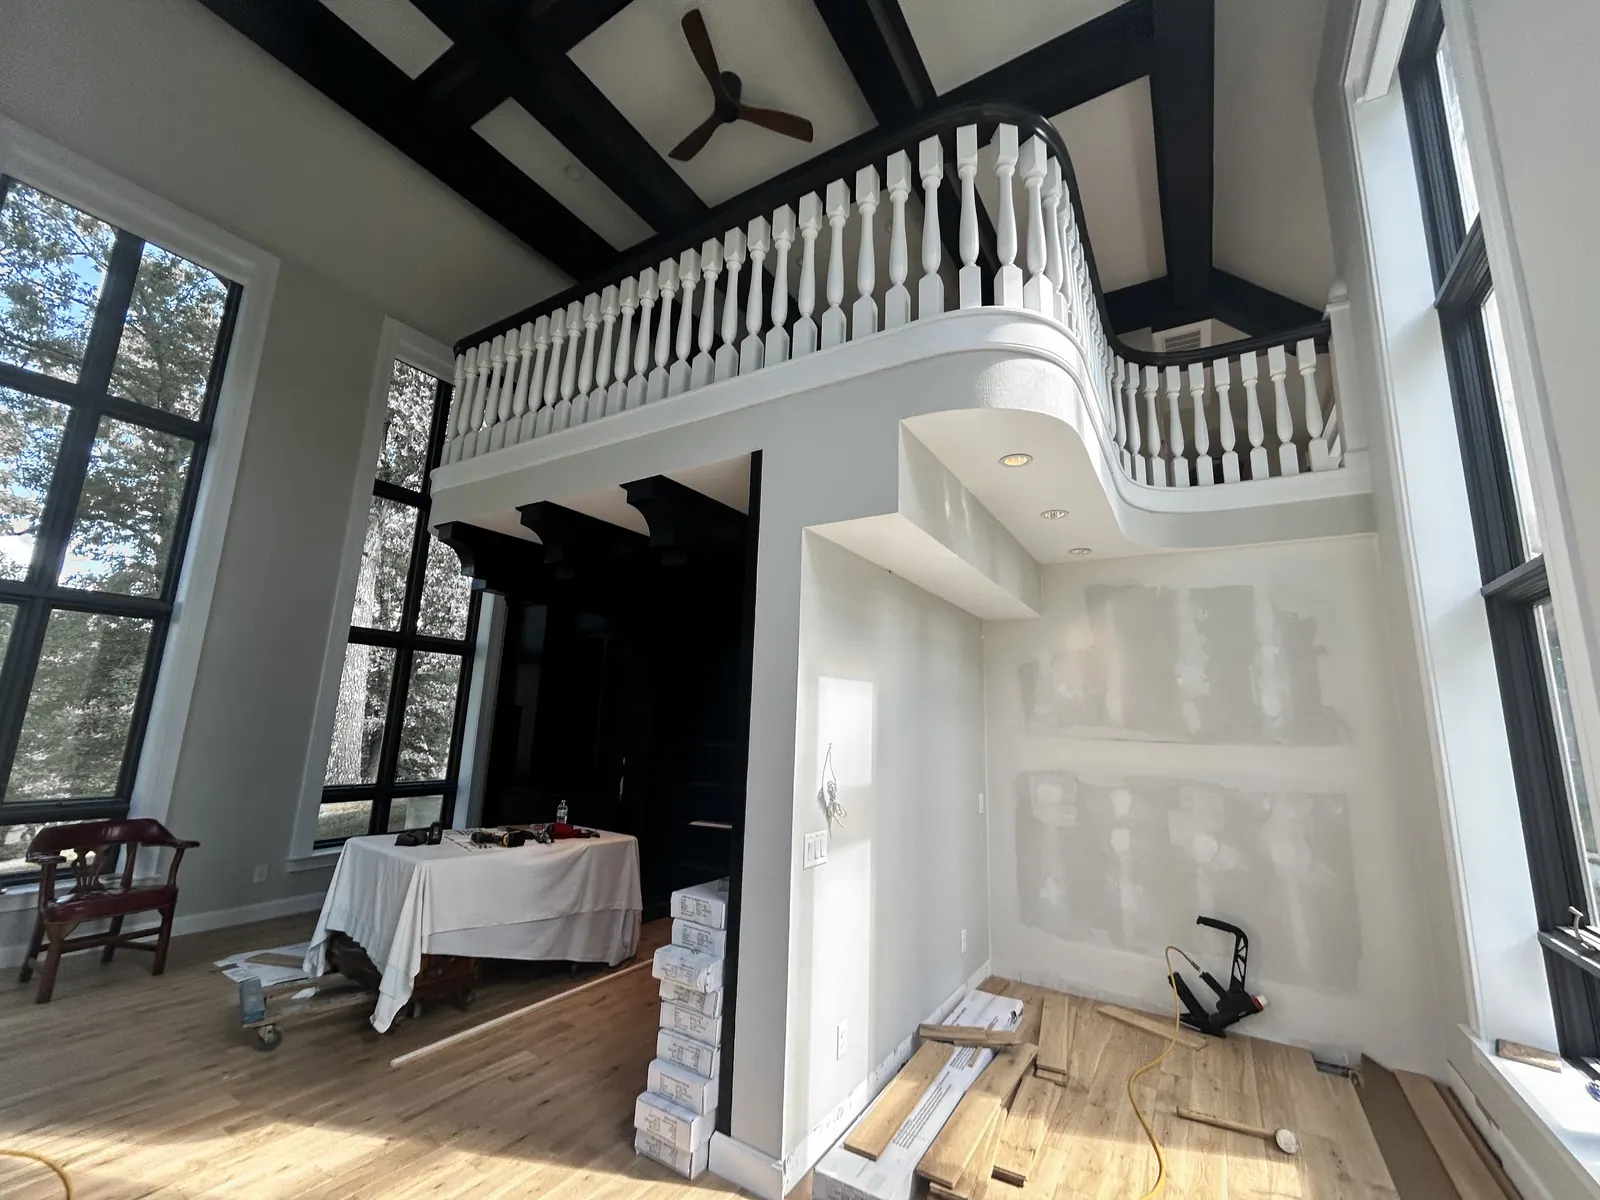
Installation in progress
Boards, a flooring nailer and boxes of flooring in a new home still under construction.Step 6: Sanding
On site-finished floors, the floor is sanded flat in several passes with progressively finer grits, then the edges and corners. Dust is vacuumed between steps.
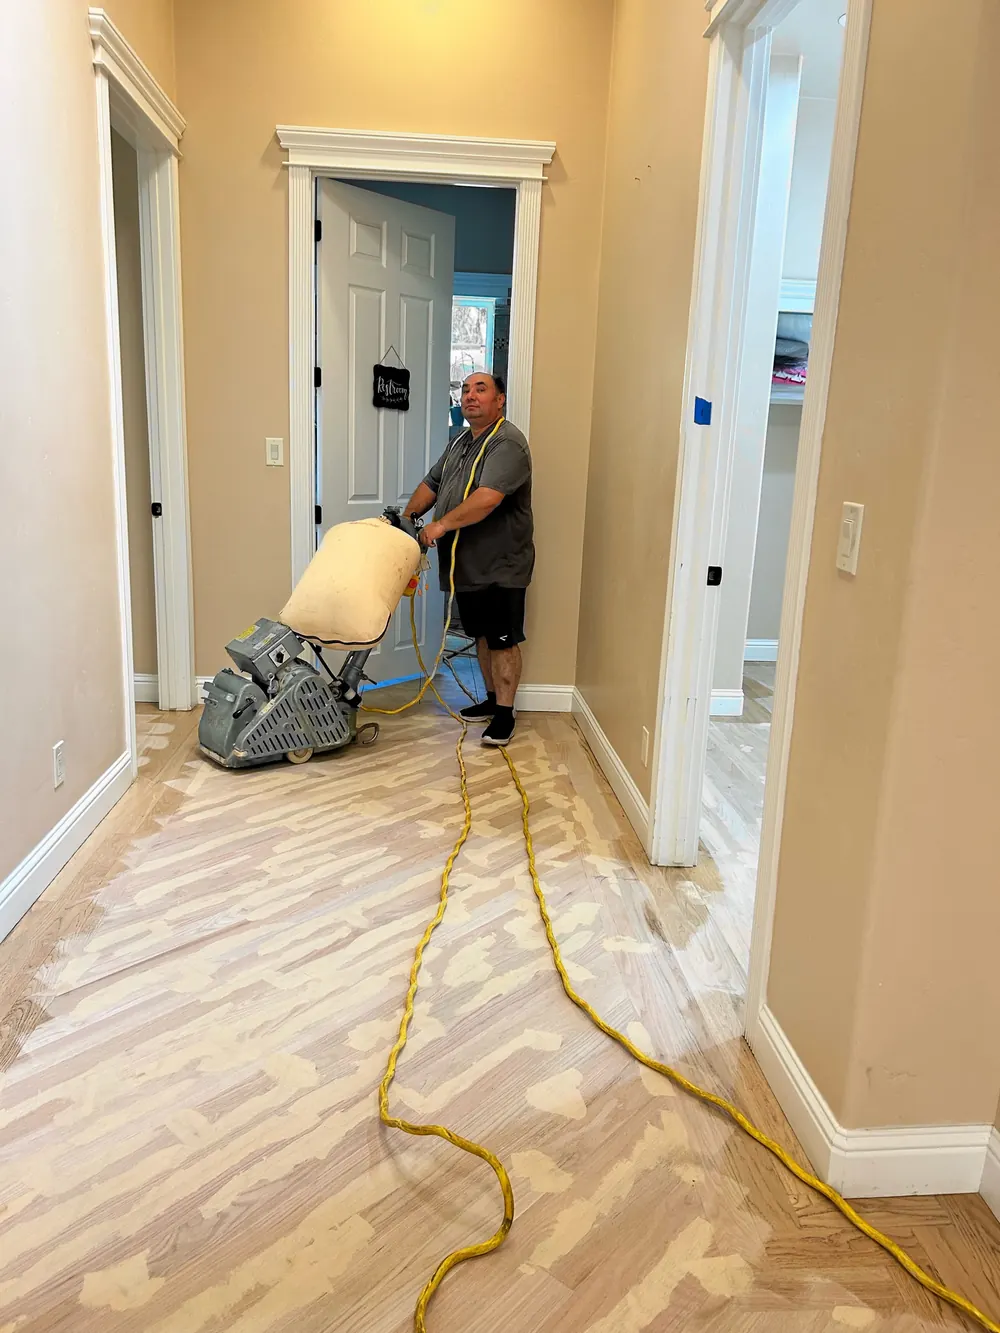
Daniel running a drum sander down a hallway. Step 7: Stain samples & color approval
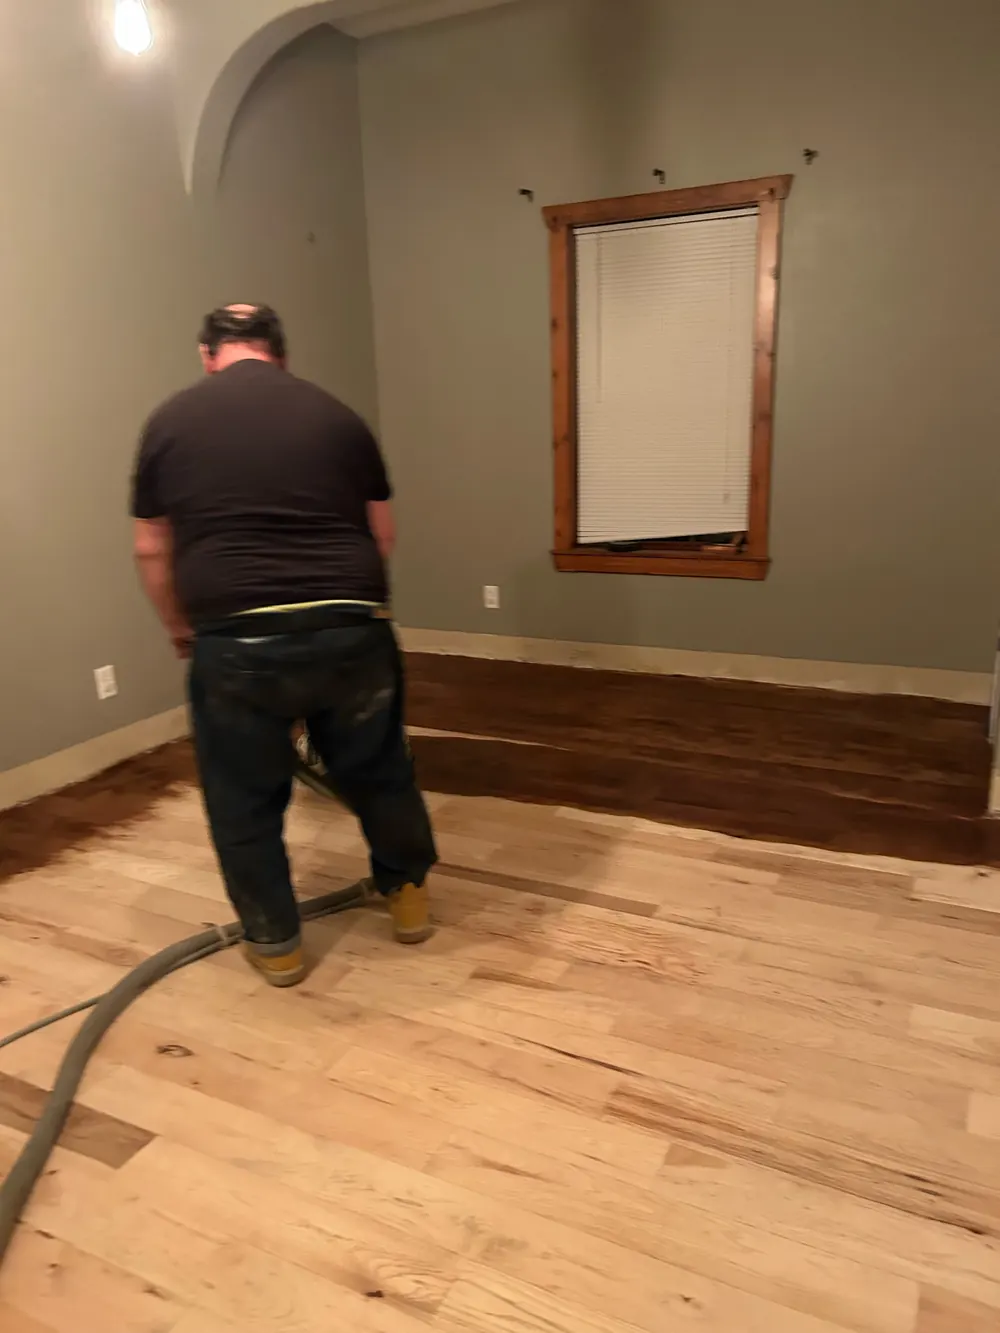
Stain samples go right on your sanded floor, so you see the real color in your own light. The whole floor isn’t stained until you approve the color.
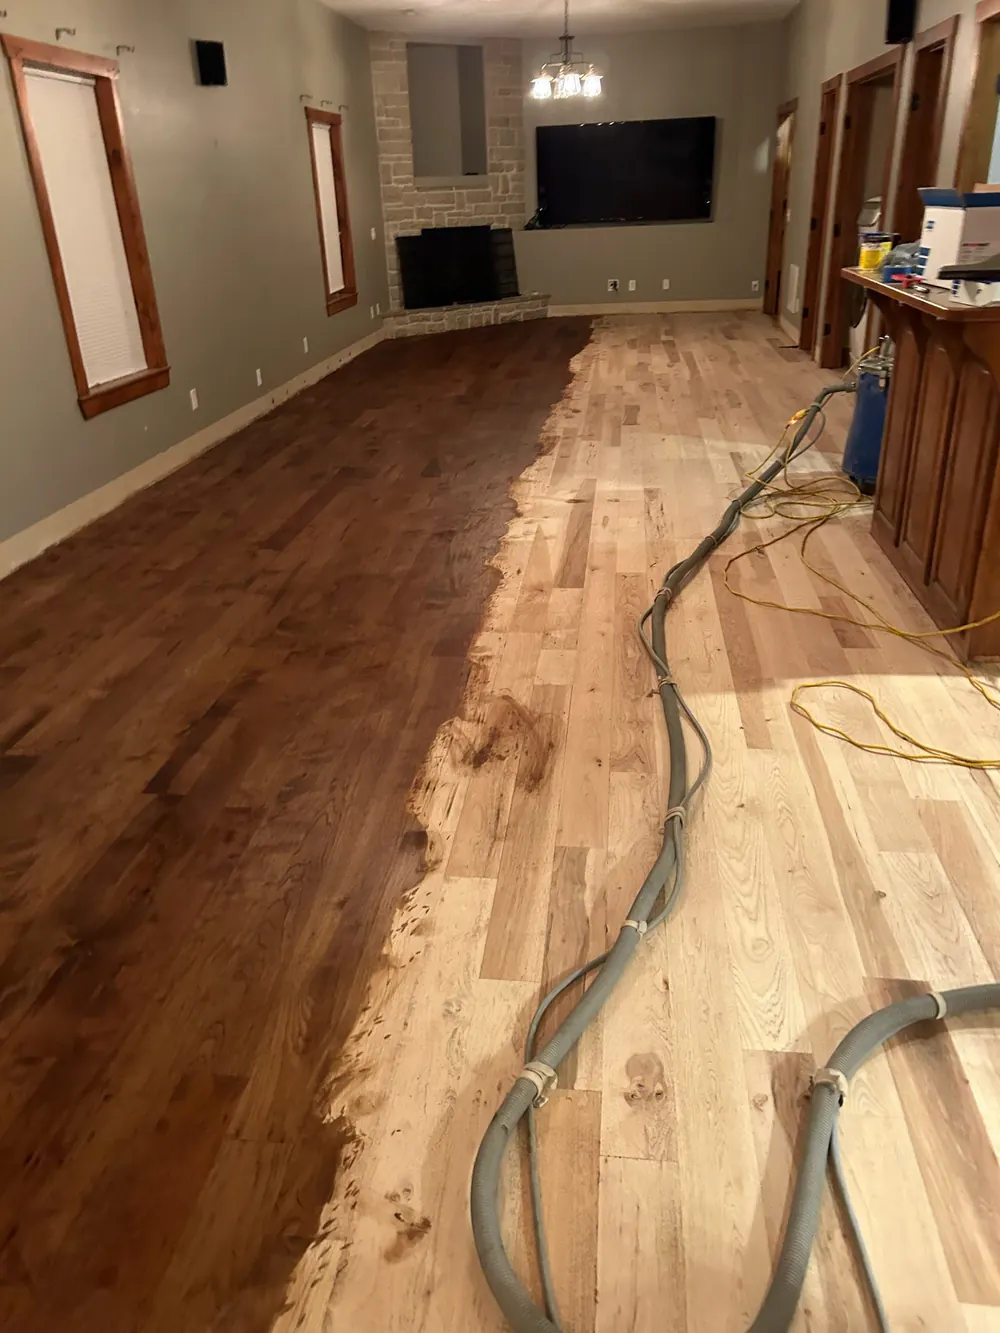
Stain going on a sanded hickory floor. 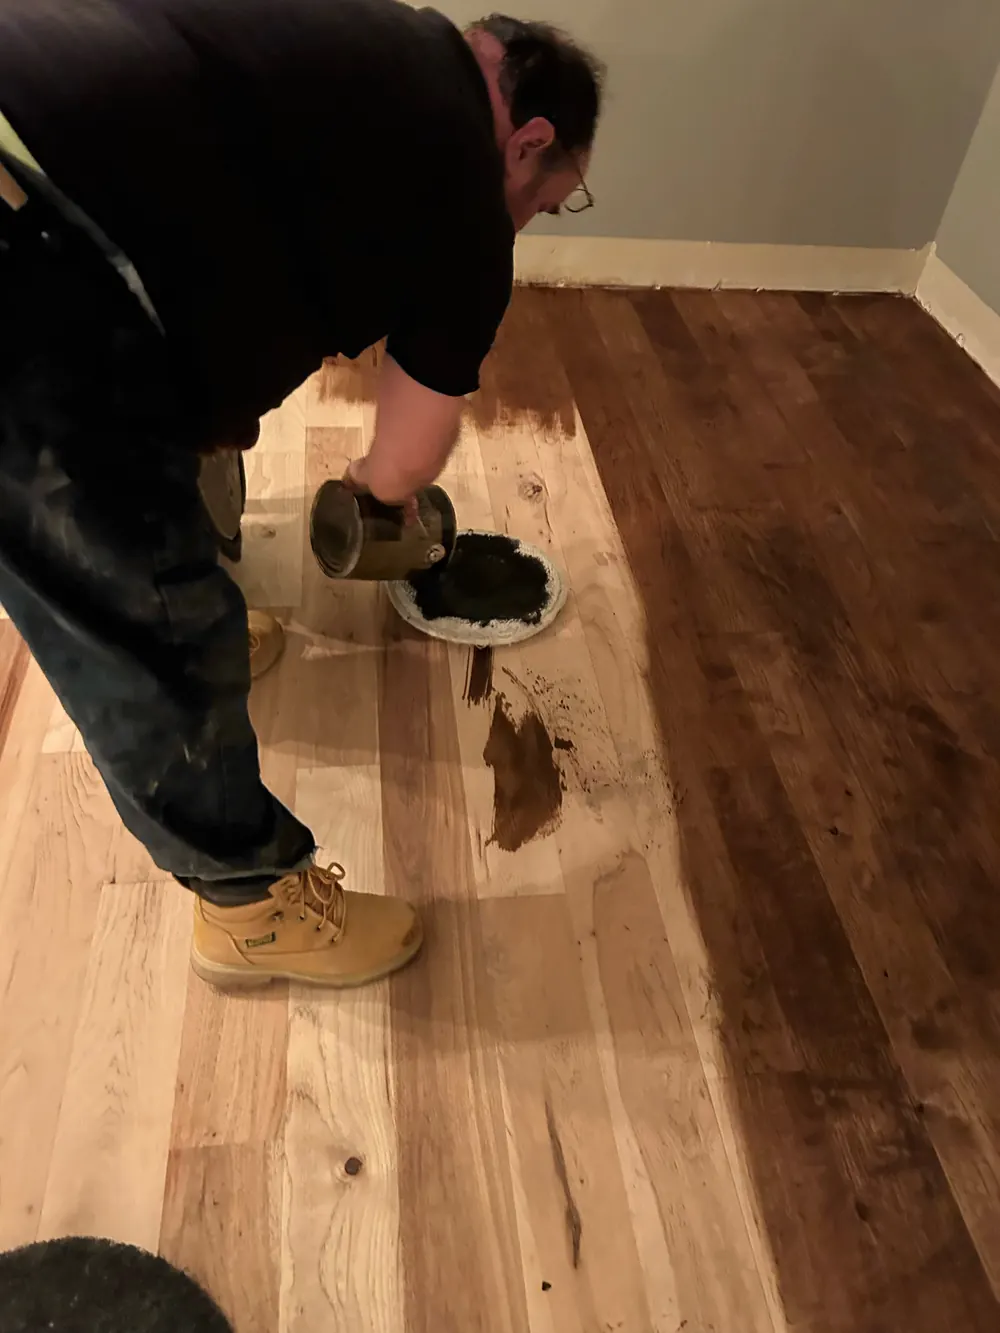
Daniel applying stain by hand. Step 8: Finish coats
Several coats of finish go on, with a light abrasion between coats so each one bonds to the last. The number of coats and drying times depend on the finish you choose.
Step 9: Final walkthrough & care guide
We walk the finished floor together and go over cure times, when furniture and rugs can come back, and how to care for your finish.
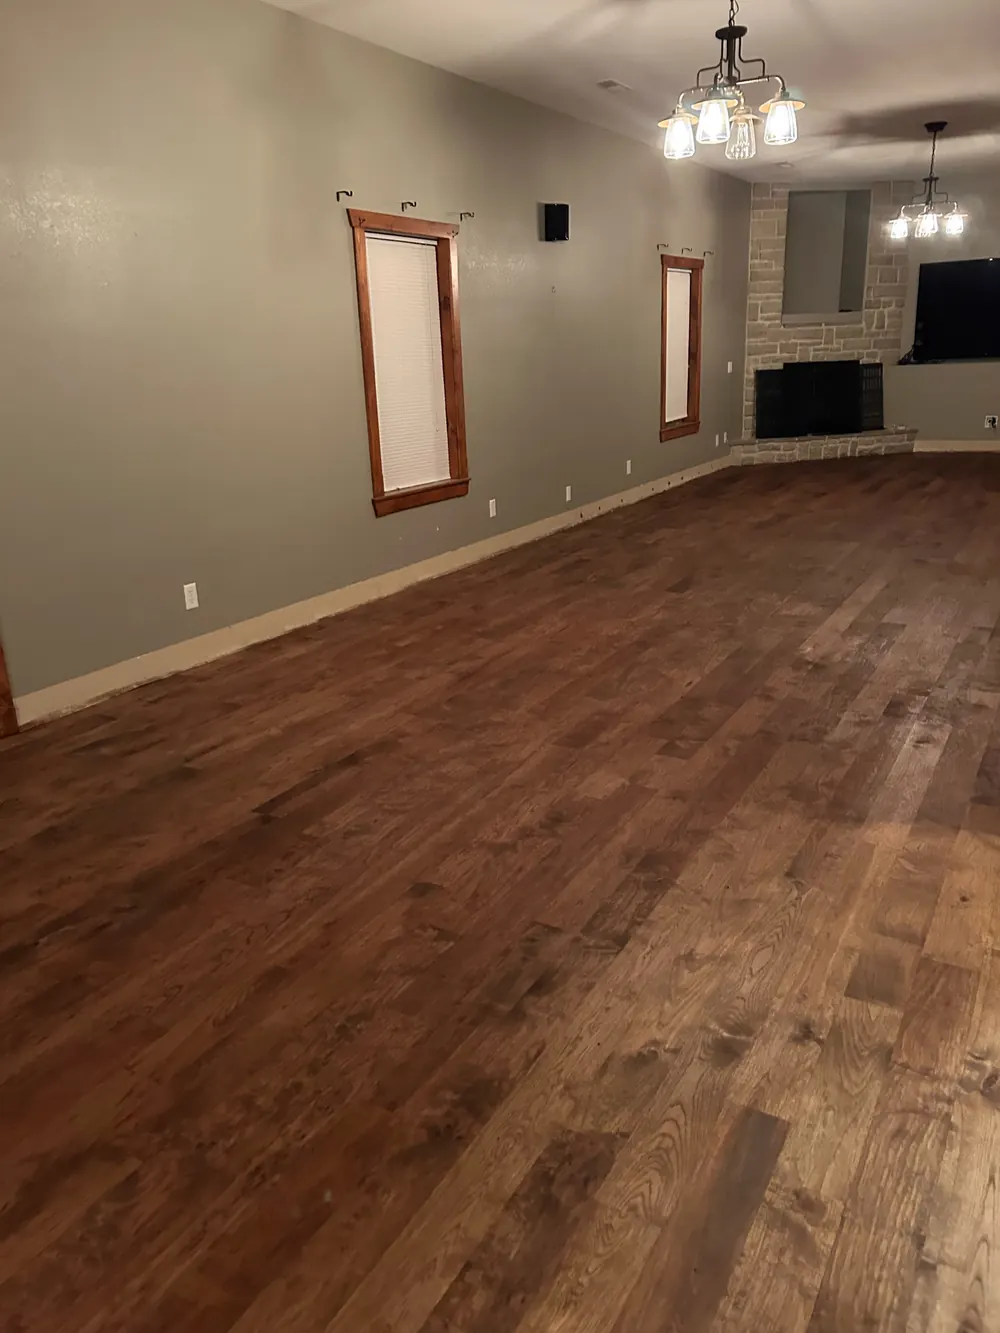
The hickory floor from step 7, finished.
Refinishing & restoration
Bringing an old floor back
A worn floor can often be restored instead of replaced. The right approach depends on how deep the wear goes.
Sand & refinish
- What happens
- The floor is sanded to bare wood, removing scratches, old finish and most discoloration, then stained (or left natural) and refinished.
- Best for
- Worn-through finish, deep scratches, or a new color. It’s the only way to change color.
Screen & recoat
- What happens
- The existing finish is lightly abraded (screened) and a fresh coat goes on. No color change, and much faster.
- Best for
- Dull, lightly scratched floors where the finish is still intact. Not for waxed floors or finishes worn down to bare wood.
Repairs and patching
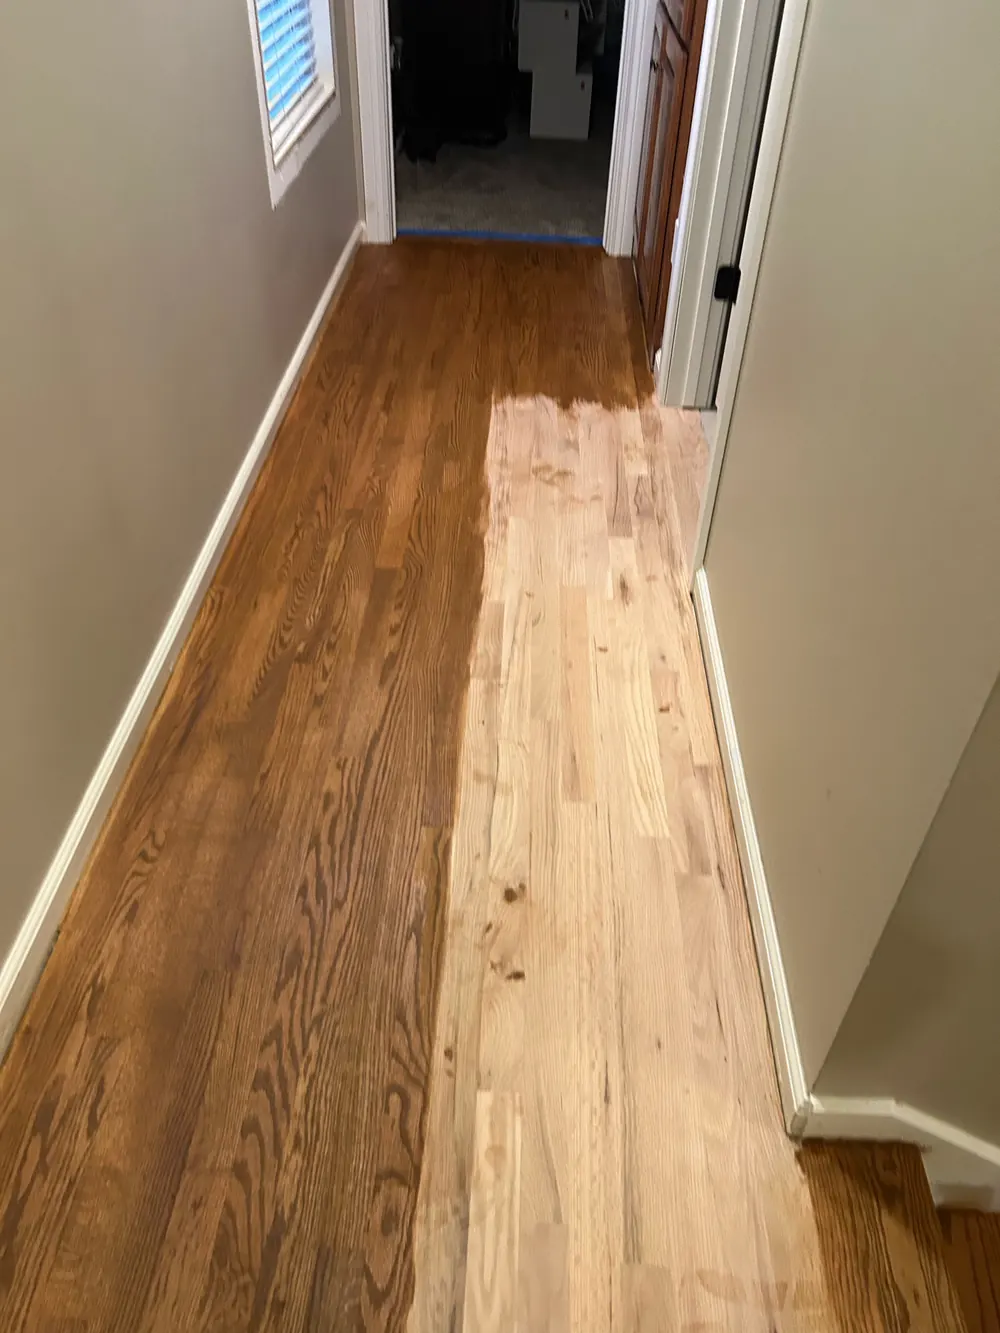
Damaged boards can be cut out and new ones “laced in,” woven into the existing rows so the repair doesn’t show as a straight line. Pet stains, water damage and old floor-register holes are common repairs.
Historic and 1800s floors
Older homes often have heart pine or old-growth oak that new lumber can’t match. Patches and additions can be made with salvaged or reclaimed boards of the same species, then blended with careful sanding and stain. Old floors have often been sanded before, so the wood left above the tongue is checked first.
Care
Caring for your floor
- Keep indoor humidity steady, roughly 30–50% year-round.
- Put felt pads under furniture and mats at entrances. Avoid rubber-backed rugs, which can trap moisture or discolor the finish.
- Sweep, dust-mop or vacuum on the hard-floor setting, and clean with a product made for your finish.
- Skip steam mops, wet mops and oil soaps.
- Wipe up spills promptly and keep pets’ nails trimmed.
Questions
Common questions
How long does a hardwood floor project take?
It depends on the size of the job, the product, and whether the floor is finished on site. A prefinished floor can often be installed in a few days. A site-finished floor adds time for acclimation, sanding, staining and drying between coats. Daniel will give you a realistic timeline for your home at the consultation.
Can you match my existing floors?
Usually, yes. Matching the species, width and grade, then sanding and finishing the old and new boards together, is the most reliable way to make an addition disappear. In older homes, salvaged or reclaimed boards are often the closest match.
Can I put hardwood in a basement?
Solid hardwood generally isn’t recommended below grade. Engineered hardwood, glued down or floated over a properly prepared slab, is the usual choice.
Can I change the color of my oak floors?
Yes. Sanding to bare wood and applying a new stain lets you go lighter, darker, warmer or grayer. Red oak and white oak both take stain well. A sample on your own floor is the best preview.
When can we walk on the floor and move furniture back?
It depends on the finish. Typically you can walk on it carefully in socks within a day or so, return furniture after several days, and put area rugs down only after a full cure, which can take two weeks or more. You’ll get the exact times for the finish on your floor.
What works best with dogs?
A harder species such as hickory, maple or white oak, a matte or satin sheen that hides fine scratches, and a character grade where small marks blend in. Keeping nails trimmed helps more than anything.
Not sure what’s right for your home?
Daniel will walk you through samples in person.